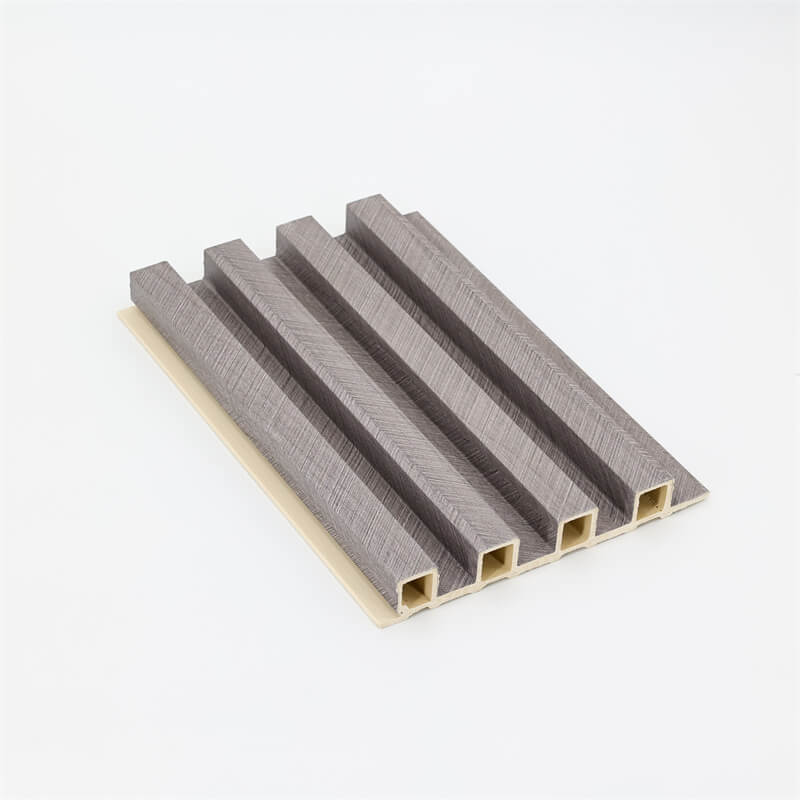
WPC (Wood-Plastic Composite) wall panels have gained immense popularity in the construction industry due to their durability, low maintenance, and aesthetic appeal.
These panels are a sustainable alternative to traditional wood and are often used for cladding exterior and interior walls.
If you are considering enhancing the appearance of your home or office space with WPC wall panels,
you may wonder whether to undertake the installation as a DIY project or hire a professional.
This comprehensive guide aims to walk you through the step-by-step installation process of WPC wall panels, offering insights into both DIY and professional approaches.
I. Pre-Installation Preparations
Before you begin installing WPC wall panels, it is crucial to undertake essential preparations to ensure a smooth and successful installation process.
This section covers crucial steps to take before commencing the installation.
- Gathering Tools and Materials: The first step is to gather all the necessary tools and materials required for the installation. Common tools include a measuring tape, level, pencil, circular saw, drill, screws, and a pry bar. Ensure you have the correct number of WPC wall panels, adhesives, and trim pieces to cover the desired area.
- Inspection of the Wall Surface: Examine the wall surface where you plan to install the WPC panels. The surface should be clean, dry, and free from any cracks or damages. If there are any irregularities, address them before proceeding with the installation.
- Measuring and Planning: Accurate measurements are crucial to ensure you purchase the right amount of WPC panels and avoid unnecessary wastage. Plan the layout and design, taking into consideration any doors, windows, or other architectural features that may affect the panel placement.
II. DIY Installation Process
If you have experience with basic carpentry and construction, installing WPC wall panels as a DIY project can be a rewarding endeavor.
Follow these steps to guide you through the process:
- Cutting the Panels: Measure the wall height and cut the WPC panels to the required size using a circular saw. Double-check the measurements to avoid any mistakes.
- Applying Adhesive: Apply a high-quality adhesive on the back of the WPC panel and press it firmly against the wall. Use a level to ensure the panel is straight and plumb. Repeat this step for the remaining panels, leaving a small gap between each panel to allow for expansion.
- Securing the Panels: To ensure a secure installation, drill pilot holes through the panels and into the wall surface. Insert screws into the holes and tighten them appropriately. Be cautious not to overtighten the screws, as it may damage the WPC panels.
- Adding Trim Pieces: Install trim pieces, such as corner trims and end caps, to give the installation a polished look. Cut the trim pieces to size and affix them using adhesives and screws.
III. Professional Installation Process
If you lack the experience or confidence in undertaking the installation yourself, hiring a professional can guarantee a flawless outcome.
Here’s what you can expect during a professional WPC wall panel installation:
- Site Inspection: The professionals will conduct a thorough site inspection to assess the wall’s condition, take precise measurements, and identify any potential challenges that may arise during the installation.
- Preparing the Wall Surface: The installation team will prepare the wall surface, ensuring it is clean, smooth, and properly primed to promote better adhesion.
- Precise Cutting and Alignment: Professionals have the expertise to precisely cut the WPC panels and align them accurately. This ensures a seamless installation without visible gaps or misalignments.
- Efficient Installation: Professional installers have the necessary equipment and skills to complete the installation efficiently and in a timely manner. This reduces the overall disruption to your daily routine.
In conclusion, installing WPC wall panels can be accomplished as a DIY project or by hiring a professional installation team.
Before commencing the installation, ensure you have all the necessary tools and materials and prepare the wall surface adequately.
If you have experience with carpentry and construction, the DIY approach can be rewarding, but it requires attention to detail and accuracy.
On the other hand, hiring a professional installation team offers several advantages, including precision, efficiency, and a seamless finish.
Regardless of the approach you choose, WPC wall panels are an excellent choice for enhancing the visual appeal and durability of your walls.
By following this step-by-step guide and considering your personal skills and comfort level, you can confidently embark on the journey of transforming your living or working space with WPC wall panels.
